The Healing Power of Gardens
Lately, we have been spending more time than usual in our outdoor spaces, and in Beck’s household, that has meant spending more time in the new favorite spot: the garden!
We’ve been receiving questions about the garden, and you might have seen some of our tips on our Instagram story. Today, we wanted to dive deeper, putting some of the FAQ's to Beck and share our inspiration, and top tips for your own garden!
WHAT WAS THE PROCESS OF BUILDING YOUR Raised Beds LIKE?
_______
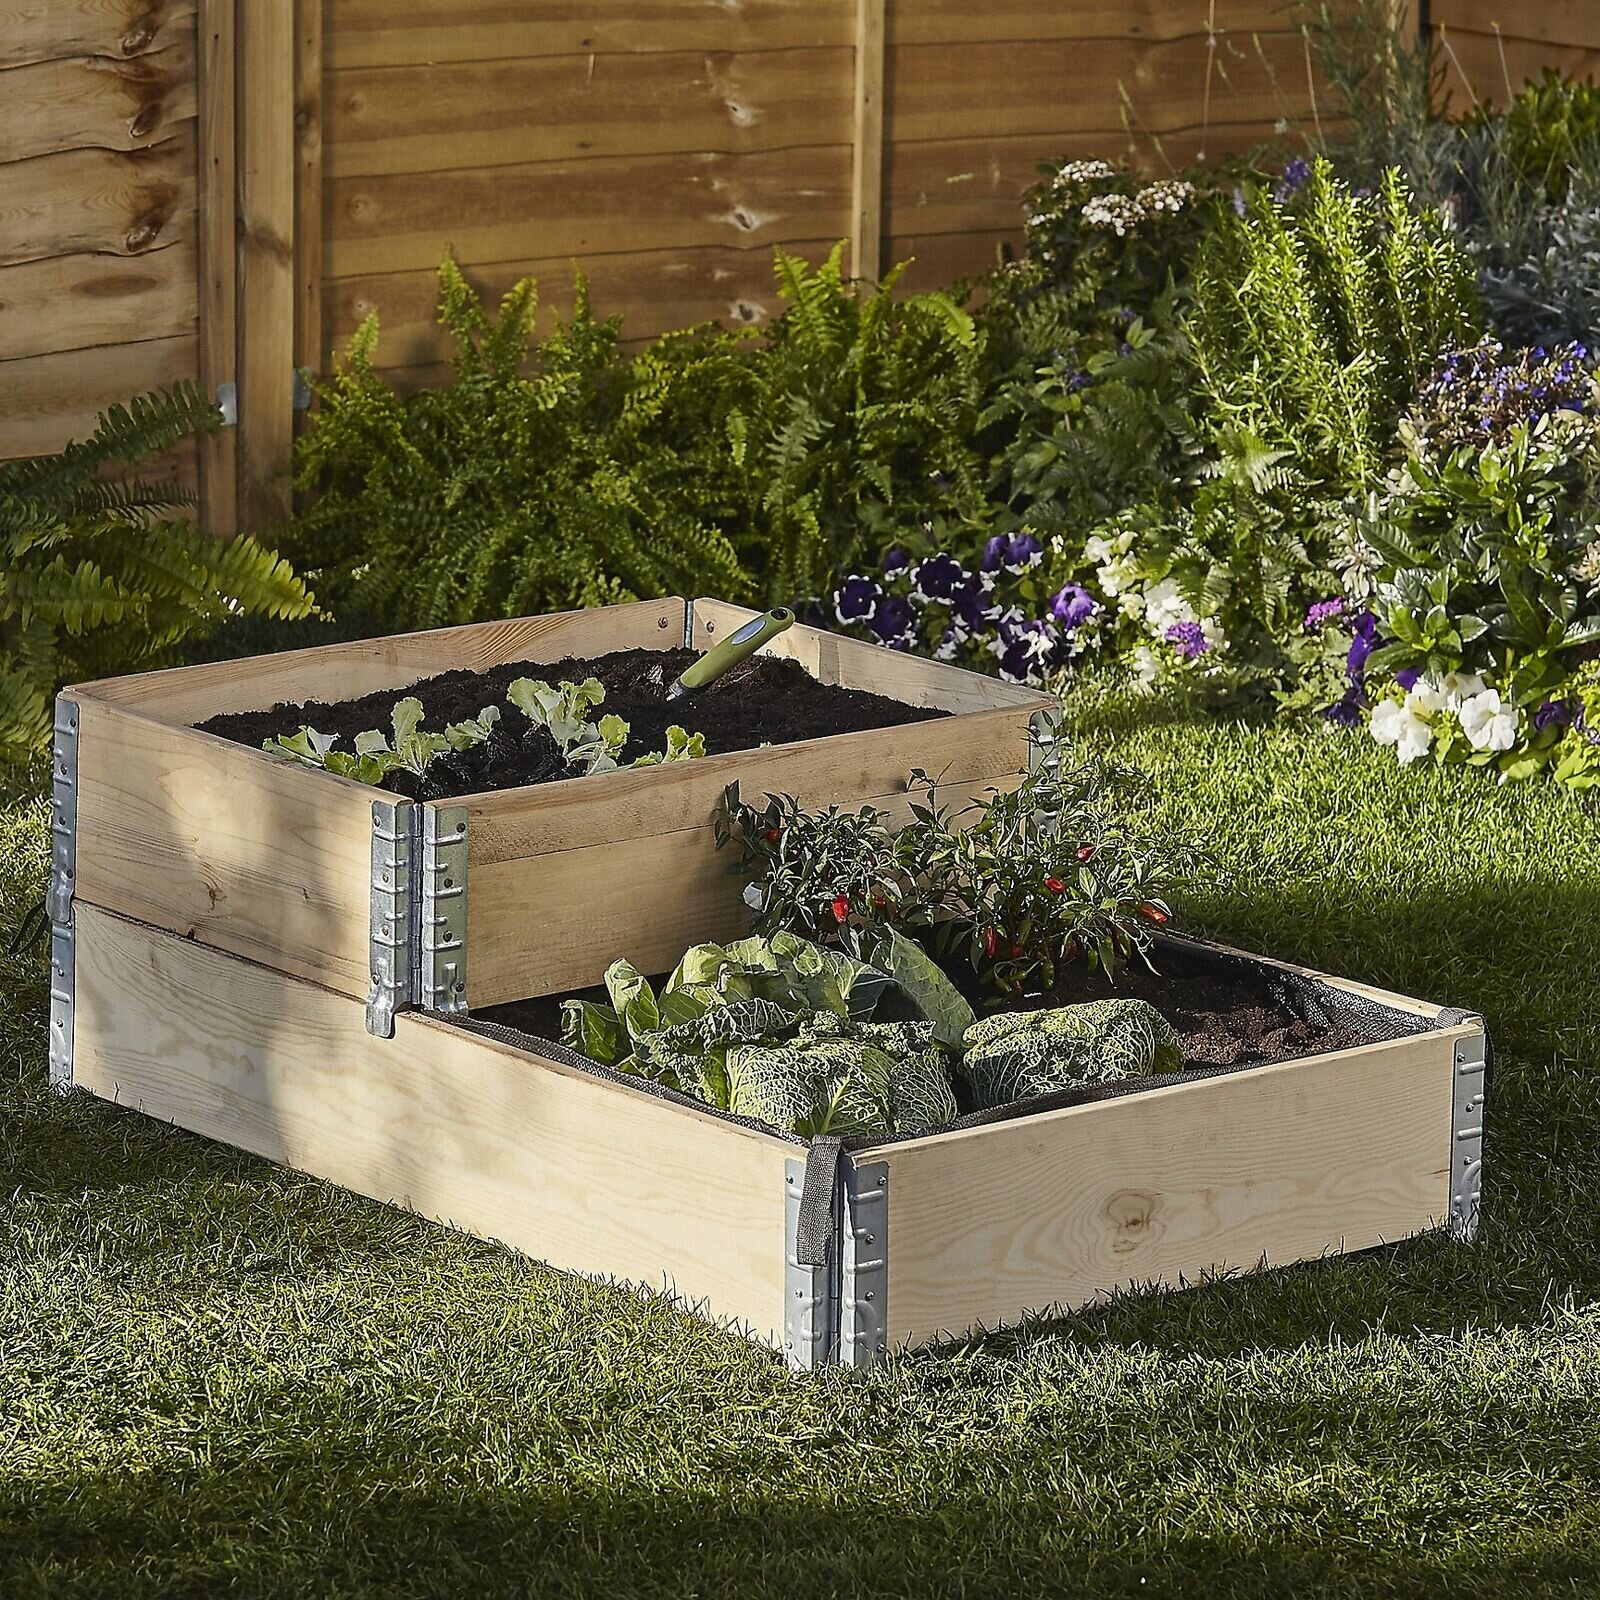
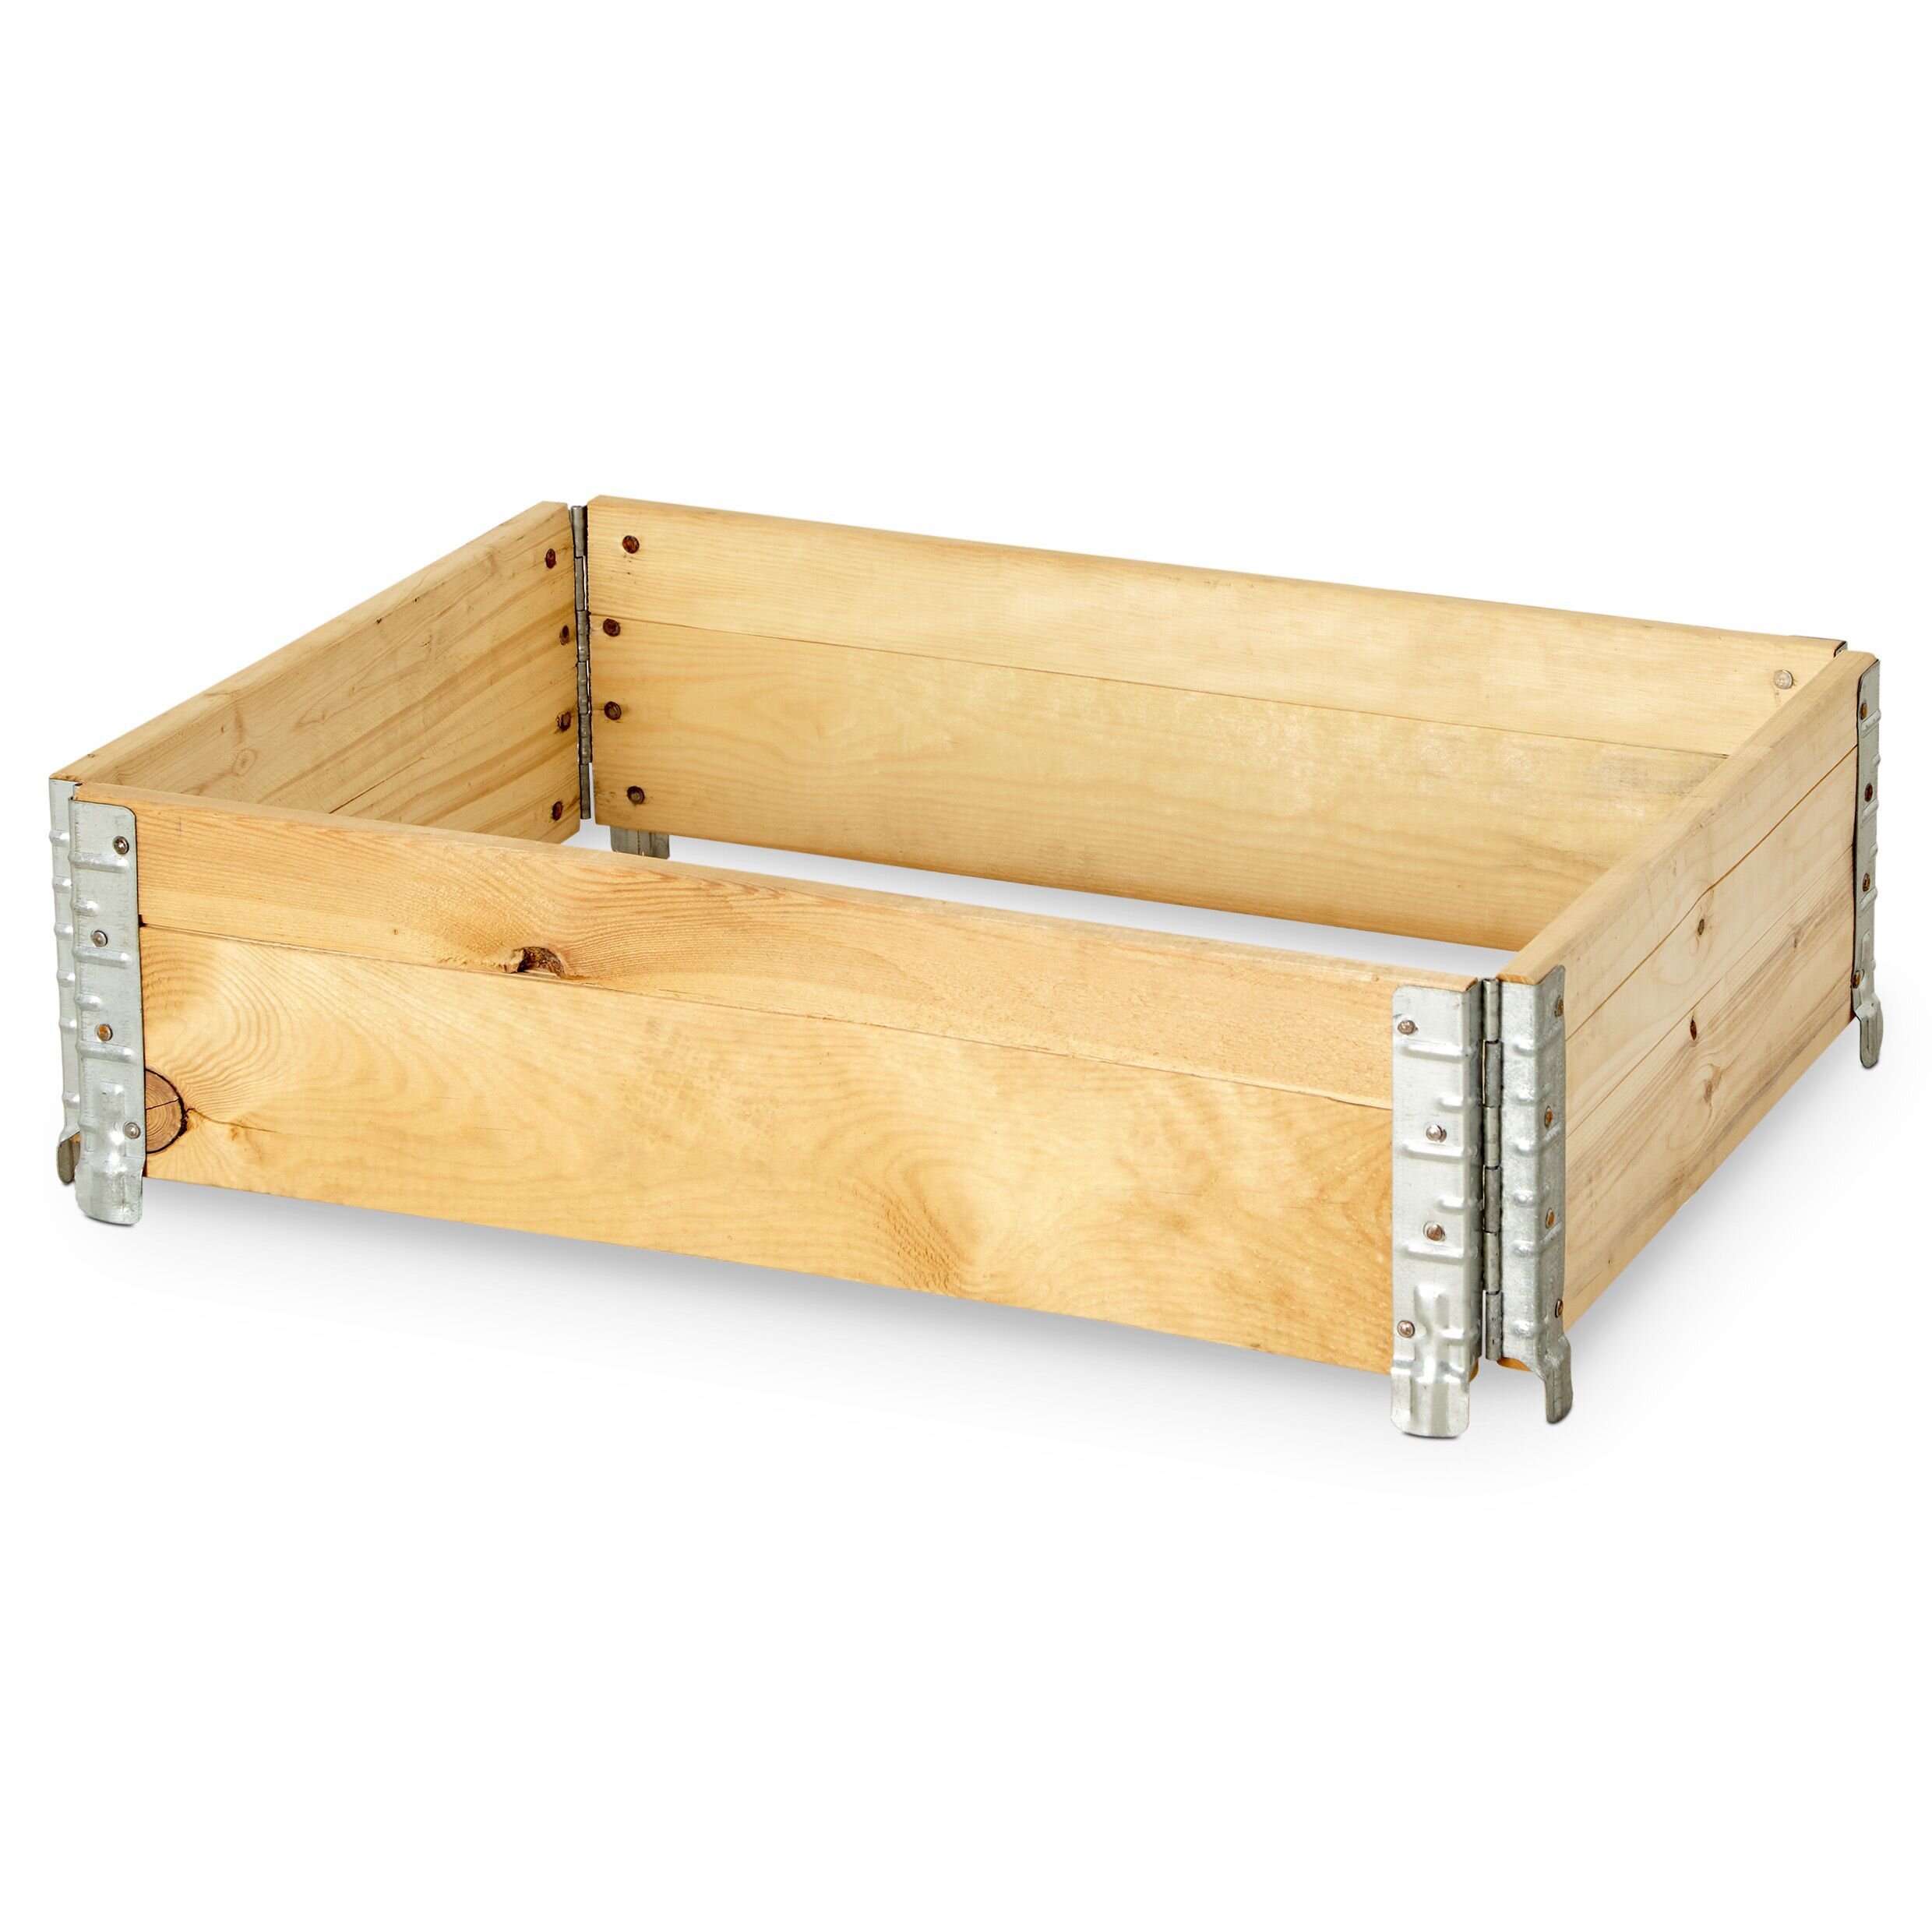
As the current property we’re staying in is temporary whilst our dream home is built, we didn’t want to spend a fortune on the garden, whilst still getting some pleasure and produce from it. The raised beds we put in are either railway sleepers left from the previous owners that we re-purposed or a couple of kits we purchased from B&Q. There are links and images to all things mentioned at the end of this post - they cost a mere £14!
The most important thing to bear in mind is the material the beds are made from. Wood is the most common choice as it allows flexibility in terms of size and can be painted or treated as desired. All timbers will eventually rot overtime, but this process and can prolonged through lining the planters with a plastic liner, using treated timbers and painting every few years.
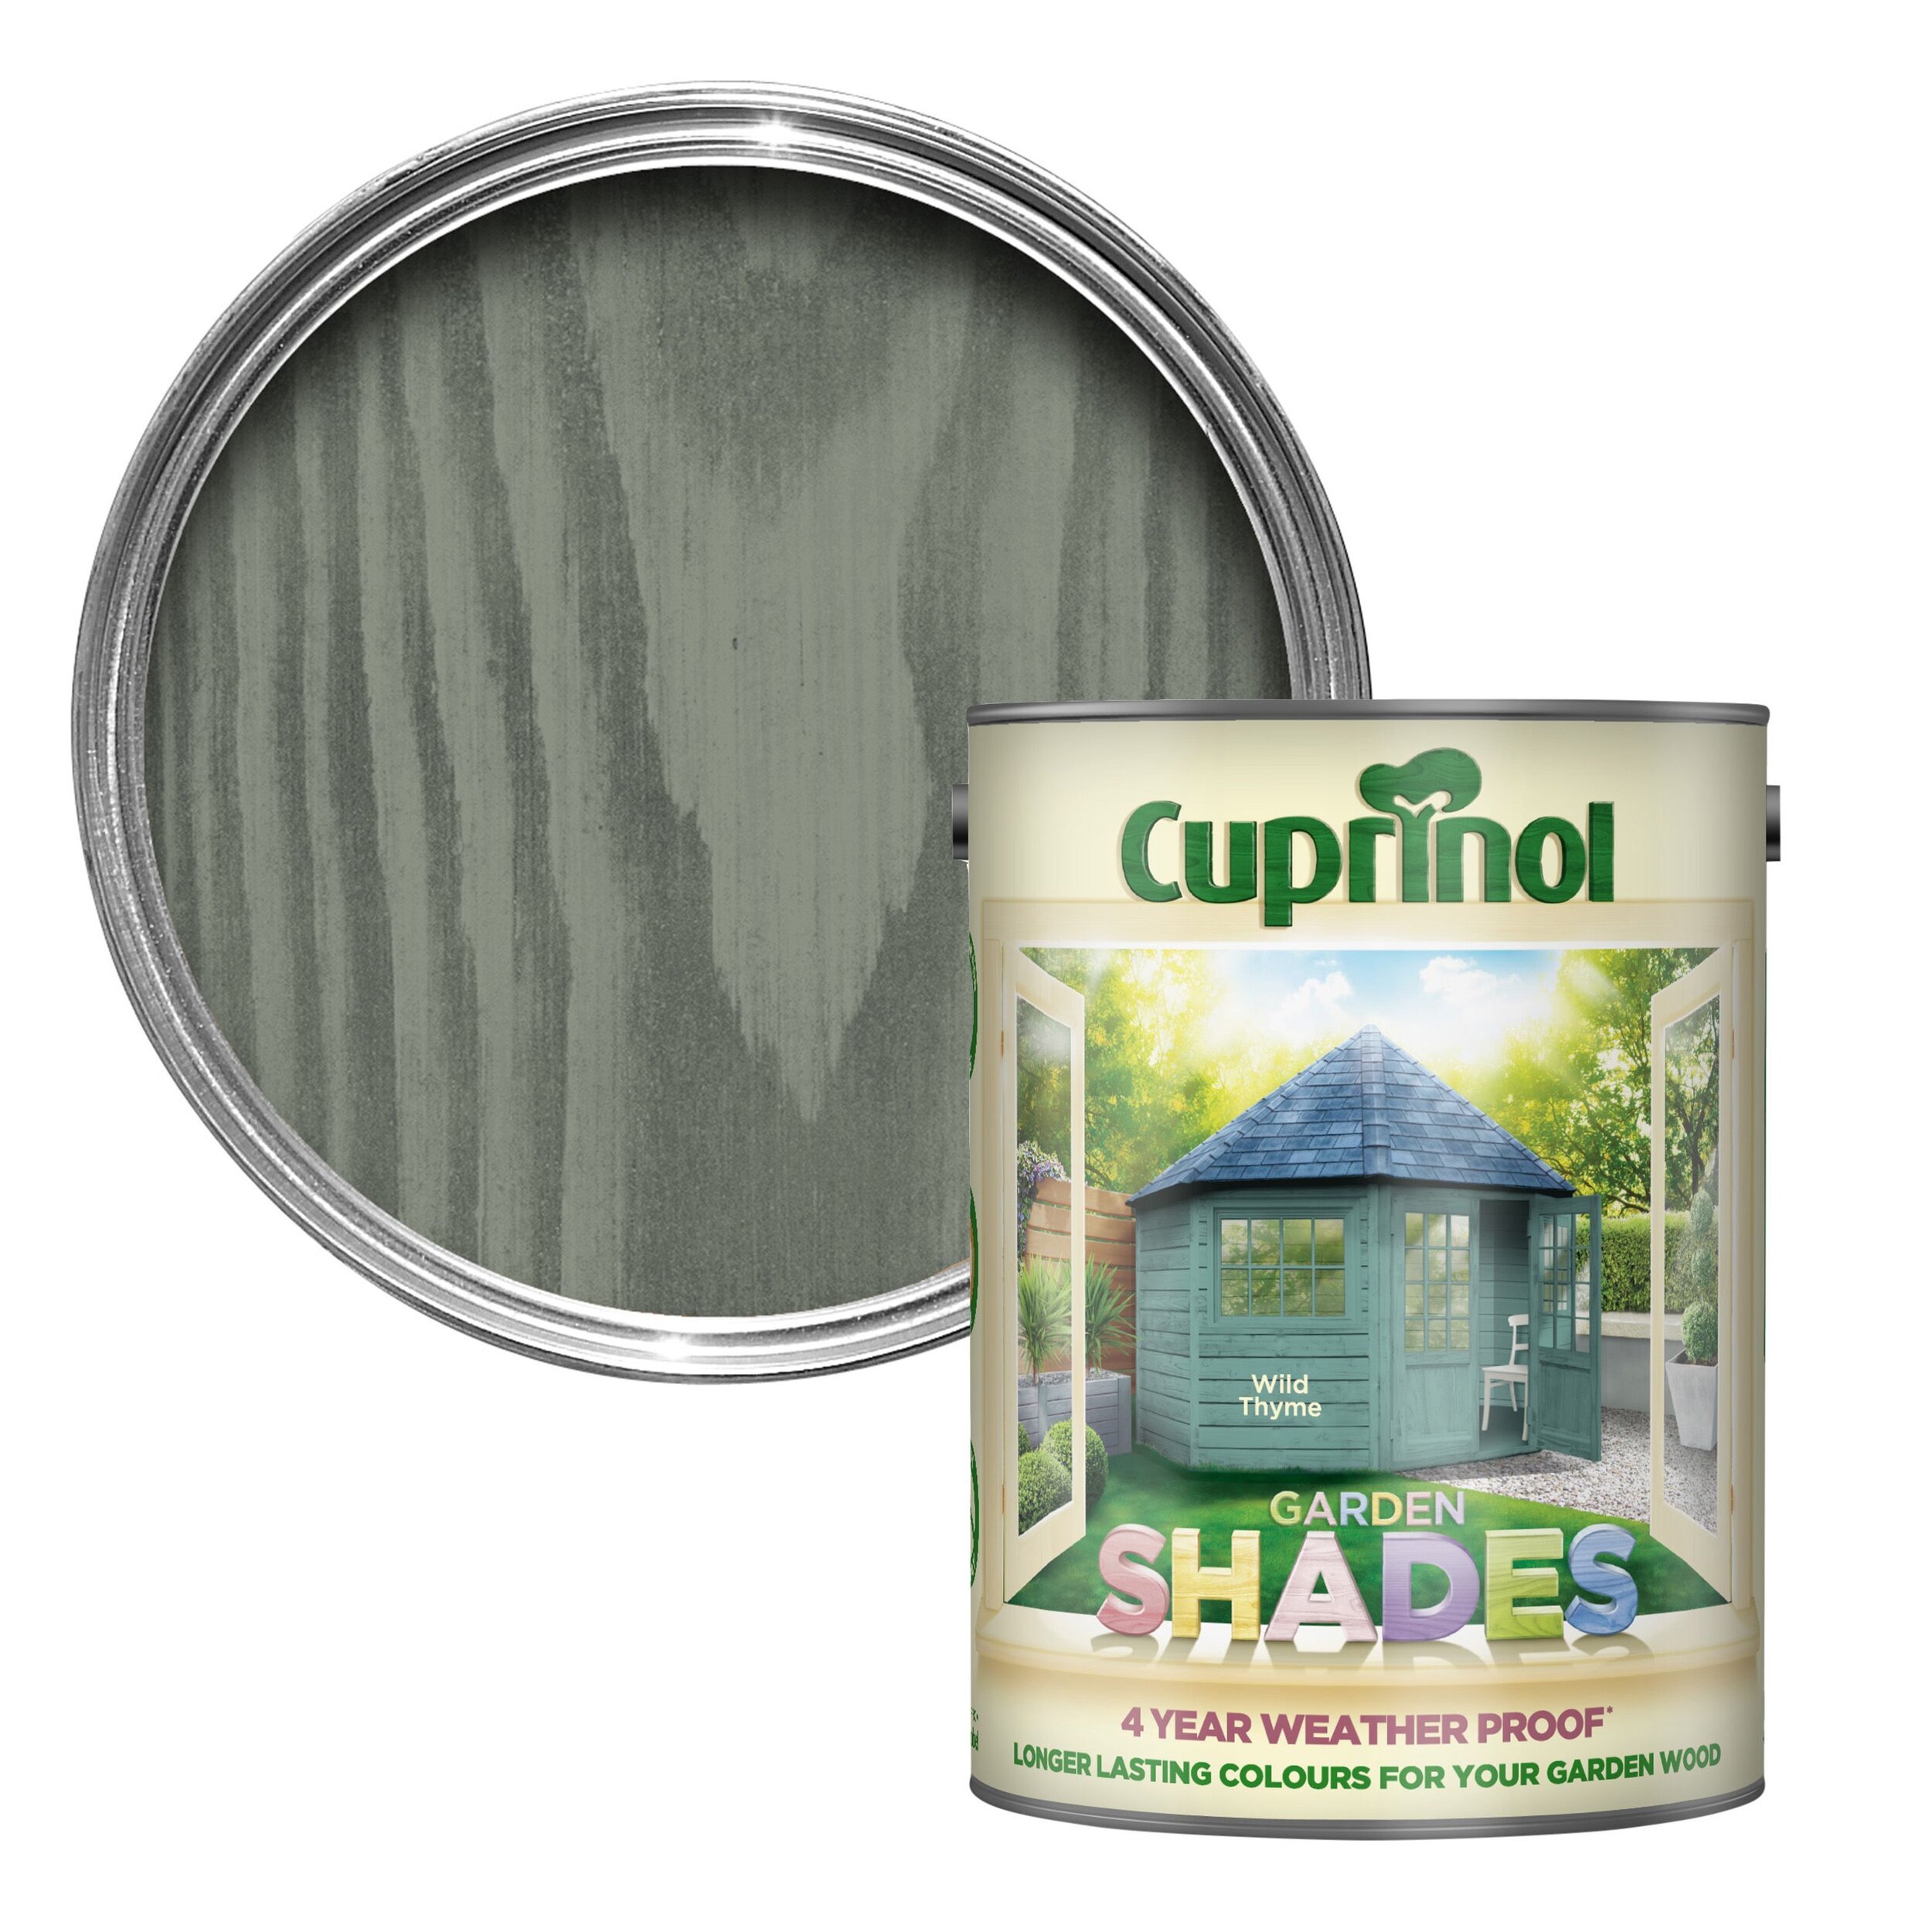
Our kits from B&Q are made from pine which silvers over time. As the main bed already had weathered sleepers in place from the end of last year, so I decided to paint the bed kits to add a nice contrast and interest as they frame the seating area. The paint colour is called Wild Thyme from the Cuprinol Garden Shades range and is the same colour as our shed and greenhouse (link at the end). Unlike other outdoor paints and stains it has a sightly thicker consistency and I find two coats really covers the surface well against the elements. It claims to offer protection for 6 years, but I’d expect it’ll need repainting in 3-4 years’ time.
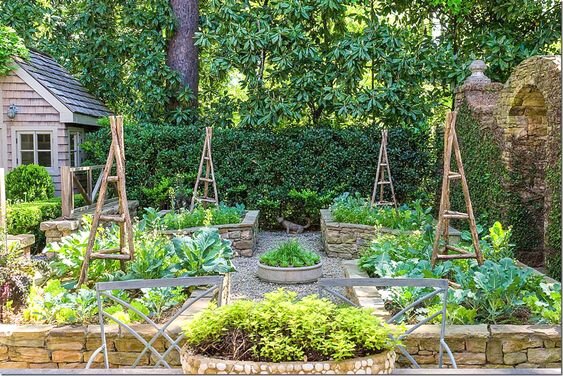
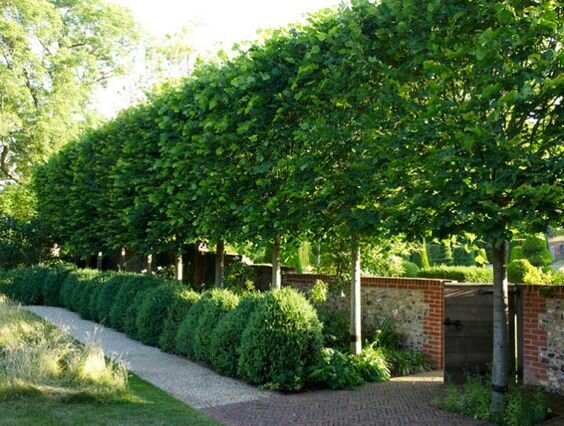
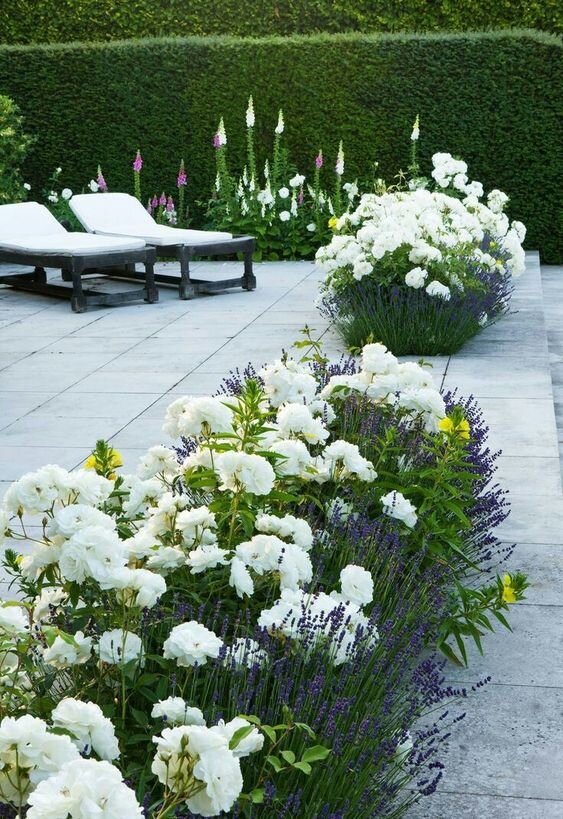
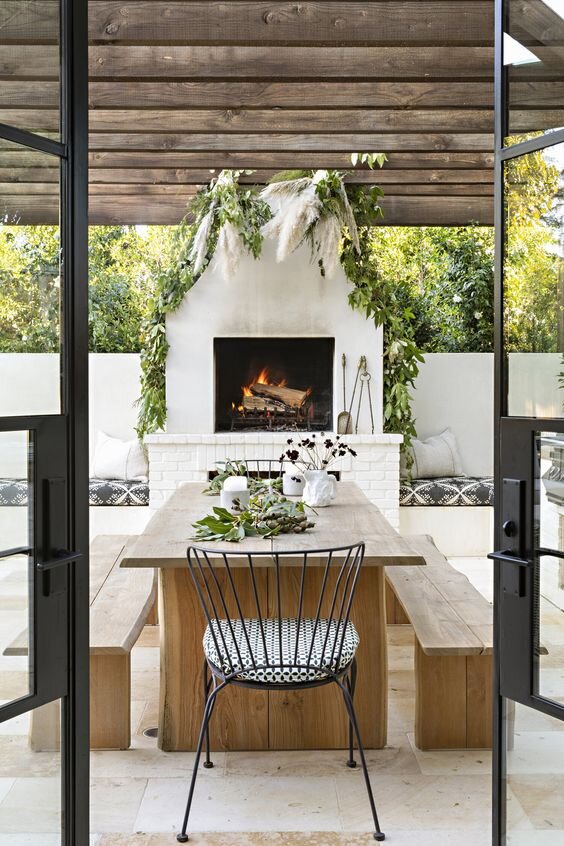
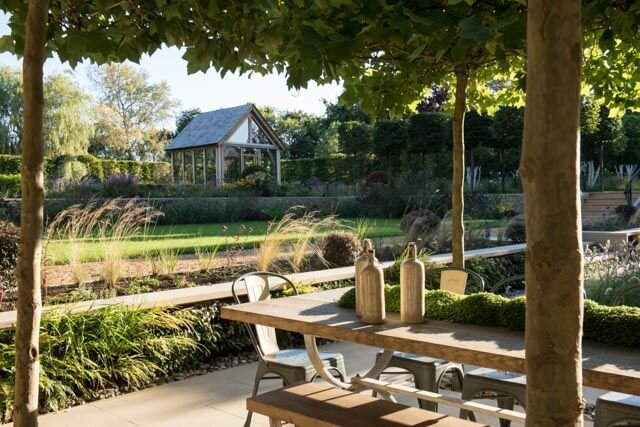
Inspirational images for our next garden, clockwise from top left:
A modern potiger garden with edibles and ornamentals grown together in a formal layout, pleached trees along a wall, A water pool with sculpture and tall cypress trees, beds set in to a patio area near the house.
WHAT food HAVE YOU GROWN IN YOUR GARDEN?
_______
This has been the first full year of horticulture for our household. Gardening requires patience but we have been rewarded with many successes for our first try!
I have always wanted to have a garden, but in the past either didn’t have the time or space to make a real go of edibles. When we began our garden, I knew I wanted a mix of herbs, so we started with garden mint, rosemary and sage on a raised section next to the BBQ so you can grab and season as you cook.
Garden mint should be planted inside pots in the ground or their own container, as they spread underground and are almost impossible to get rid of once they establish! I use garden mint to make a refreshing mint tea (simply a few leaves/a stem in a mug with boiling water). An ideal caffeine-free refreshment later in the day.
Next, were the vegetables - lettuce, tomatoes, carrots, potatoes, cucumbers, etc., from spring which I have harvested over the summer. Now we have picked some of these or they have finished, I have re-used the beds for sweetcorn and butternut squash plus some later cropping tomatoes are still going strong in the greenhouse.
There's even more still in the seedling phase, it's a constant cycle! I suggest successional planting where possible to extend your season. This means sewing seeds every 1-2 weeks and gradually filling the bed rather than the whole thing at once. This has been great form my carrots but the potatoes caught up with one another and I had a glut at the end of July!
WHAT HAS BEEN YOUR FAVORITE GARDEN PROJECT?
_______
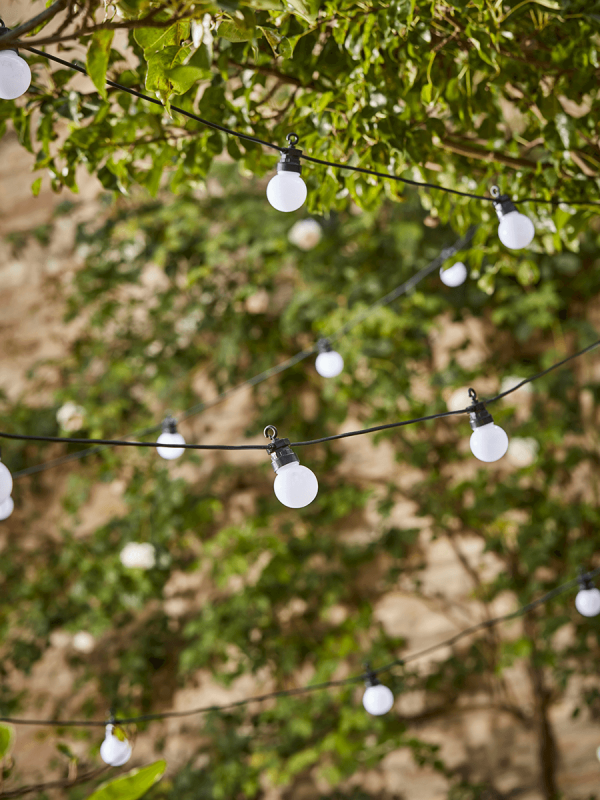
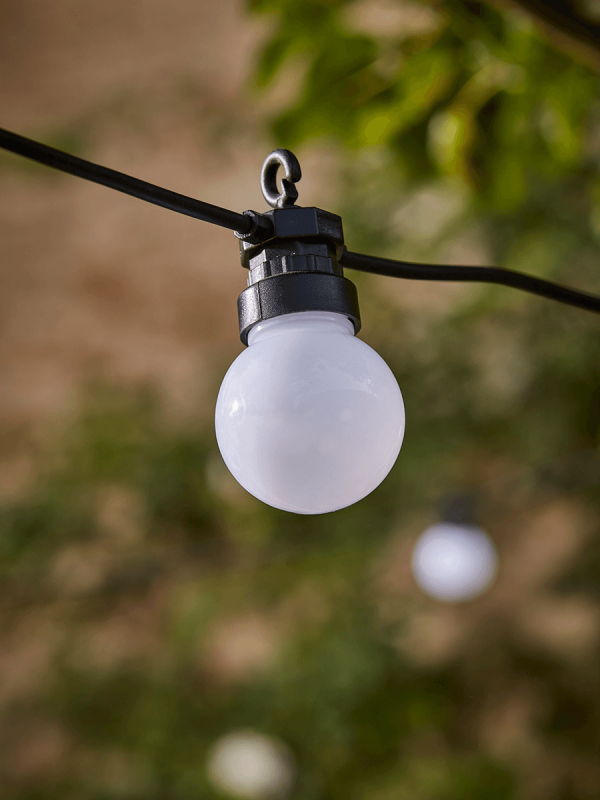
Our edible garden around the seating area has been a real success. For the first year we’ve produced quite a lot from a relatively small space. The cucumbers were not so good, but as a plant that was a gift from a neighbour I am not sure I would rush to grow one anyway! Over the seating area we’ve added a sun sail and festoon lights which look gorgeous at night such as the picture above.
Three tips that have served well are:
Adding/using top soil and compost in the raised beds
Locating the edible garden near the house and seating area
Make sure you apply a feed once a week
Having top soil an compost is not only rich in nutrients for the plants, it is much easier on your back and makes gardening more enjoyable for sure! I am certain the crop and flowers we’ve had can be attributed to using top soil and compost. Note: in smaller containers, such as those I used for the potatoes and beans, it’s best to use compost rather than top soil as it is lighter and has a more open structure. We’d have more fruit and flowers if we’d done that.
Having the edibles near the house has meant that when I am in the kitchen making a cuppa I look out to see how it’s all looking and spot if something needs watering or is ready to be picked. This means I pop in and out frequently to do little jobs - again making it less of a chore! Feeding falls in to this category too as once a week is manageable when you’re near a hose or water butt!
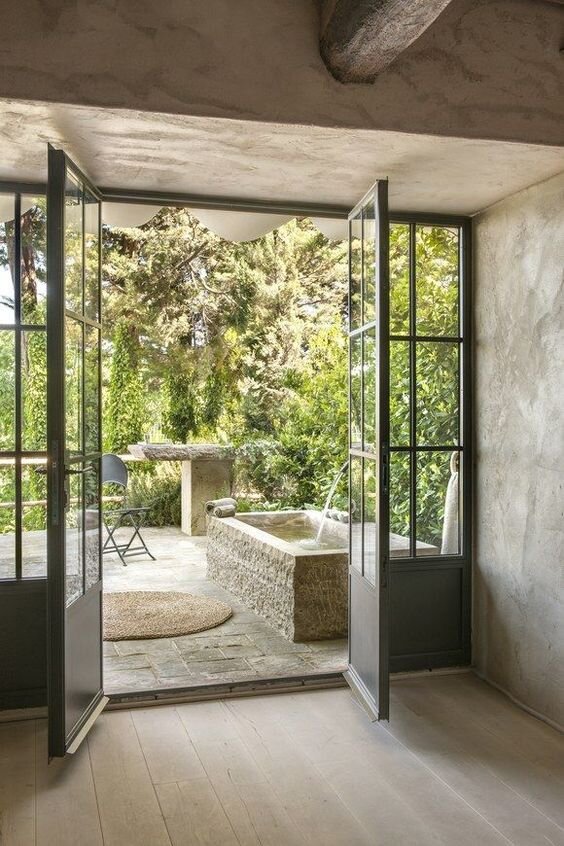
Inspiration for our future garden room
We love Crittall style windows and doors and this room opens up beautifully on the garden. We’ll be certain to incorporate this in to our home build!
What Ideas Do you Have For Your Next Garden?
_______
We definitely want the new house to feel connected to the garden and outside spaces as much as possible. We’re working out how to orientate the rooms to take advantage of the sun and views throughout the day. Having an ornamental edible garden near the living spaces will be something we’ll replicate and expand upon in the next garden. Here’s some images currently on the moodpboard, including a potiger garden (that’s a style of ornamental edible garden), Crittall doors and outdoor kitchens!
An example of a potiger garden - they are more commonly seen in stately homes.
WHAT IS THE MOST IMPORTANT THING YOU'VE LEARNED IN YOUR GARDEN?
_______
Nothing is rabbit proof! Here we have rabbits which will patiently chew through any wire or fence you put in place, no matter how thick or substantial! Plants are most susceptible to rabbits when they are young, so this is when they have a wire cloche put around them to give them a chance to get started. They won’t touch anything that is poisonous such as foxgloves, so that could give you a start if you have the same challenge!
For more precious crops, such as the veggies, I’ve actually made wooden and mesh frames that slot over the raised beds. These were just roof tile battens taken down from the garage demolition next door!
WHAT IS YOUR NUMBER ONE GARDENING TIP FOR BEGINNERS?
_______
Just start! I was very nervous that I wasn't going to know what I was doing, but I've learned along the way by watching. You start to notice what needs some extra love and adjust from there. Also, Google and Gardener’s World is your best friend!
WHAT ARE SOME OF YOUR FAVORITE GARDENING ACCESSORIES?
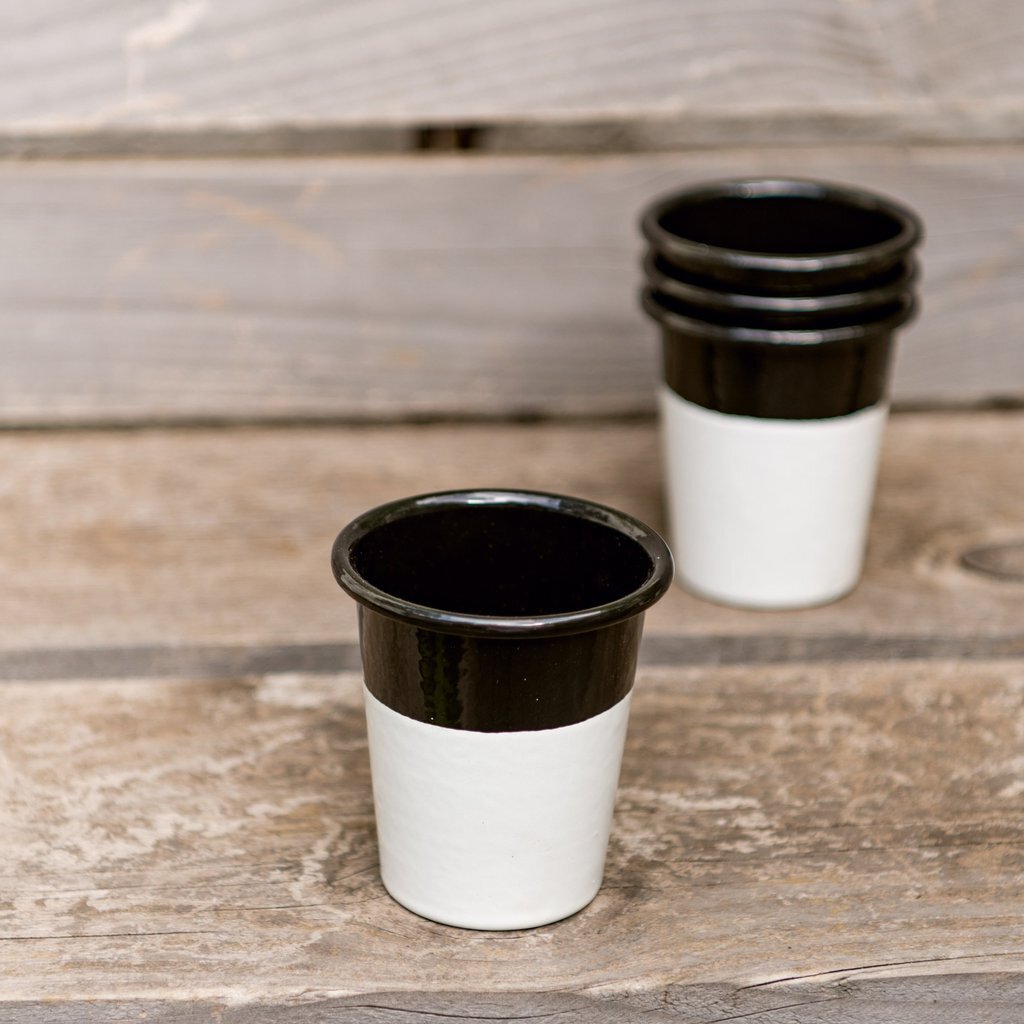
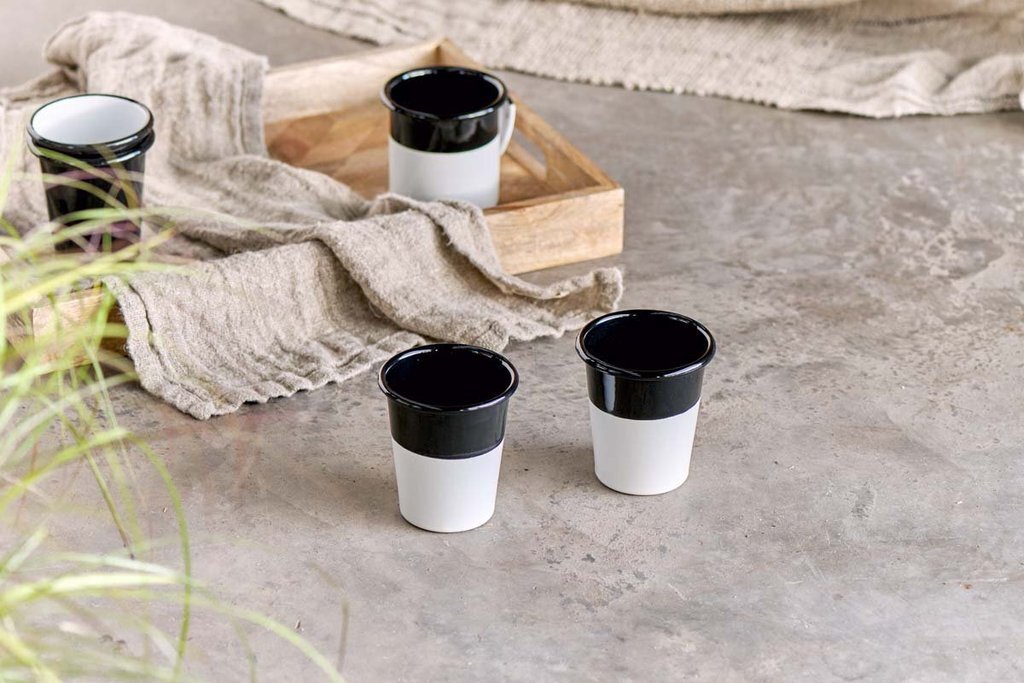
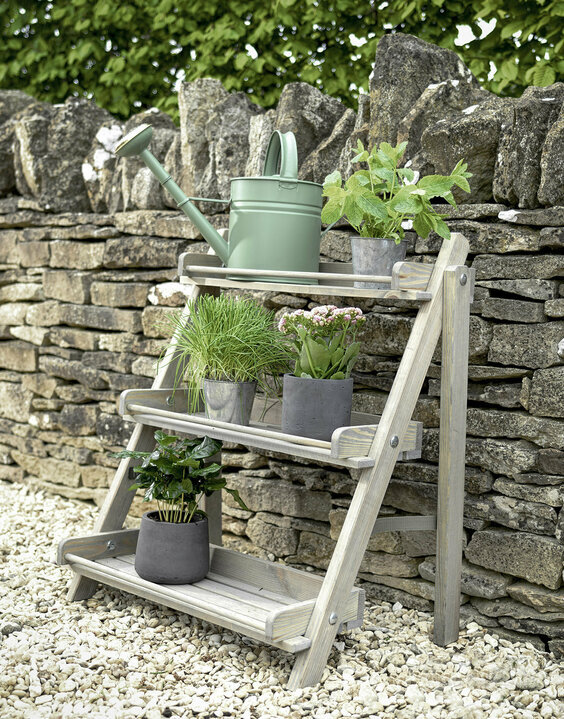
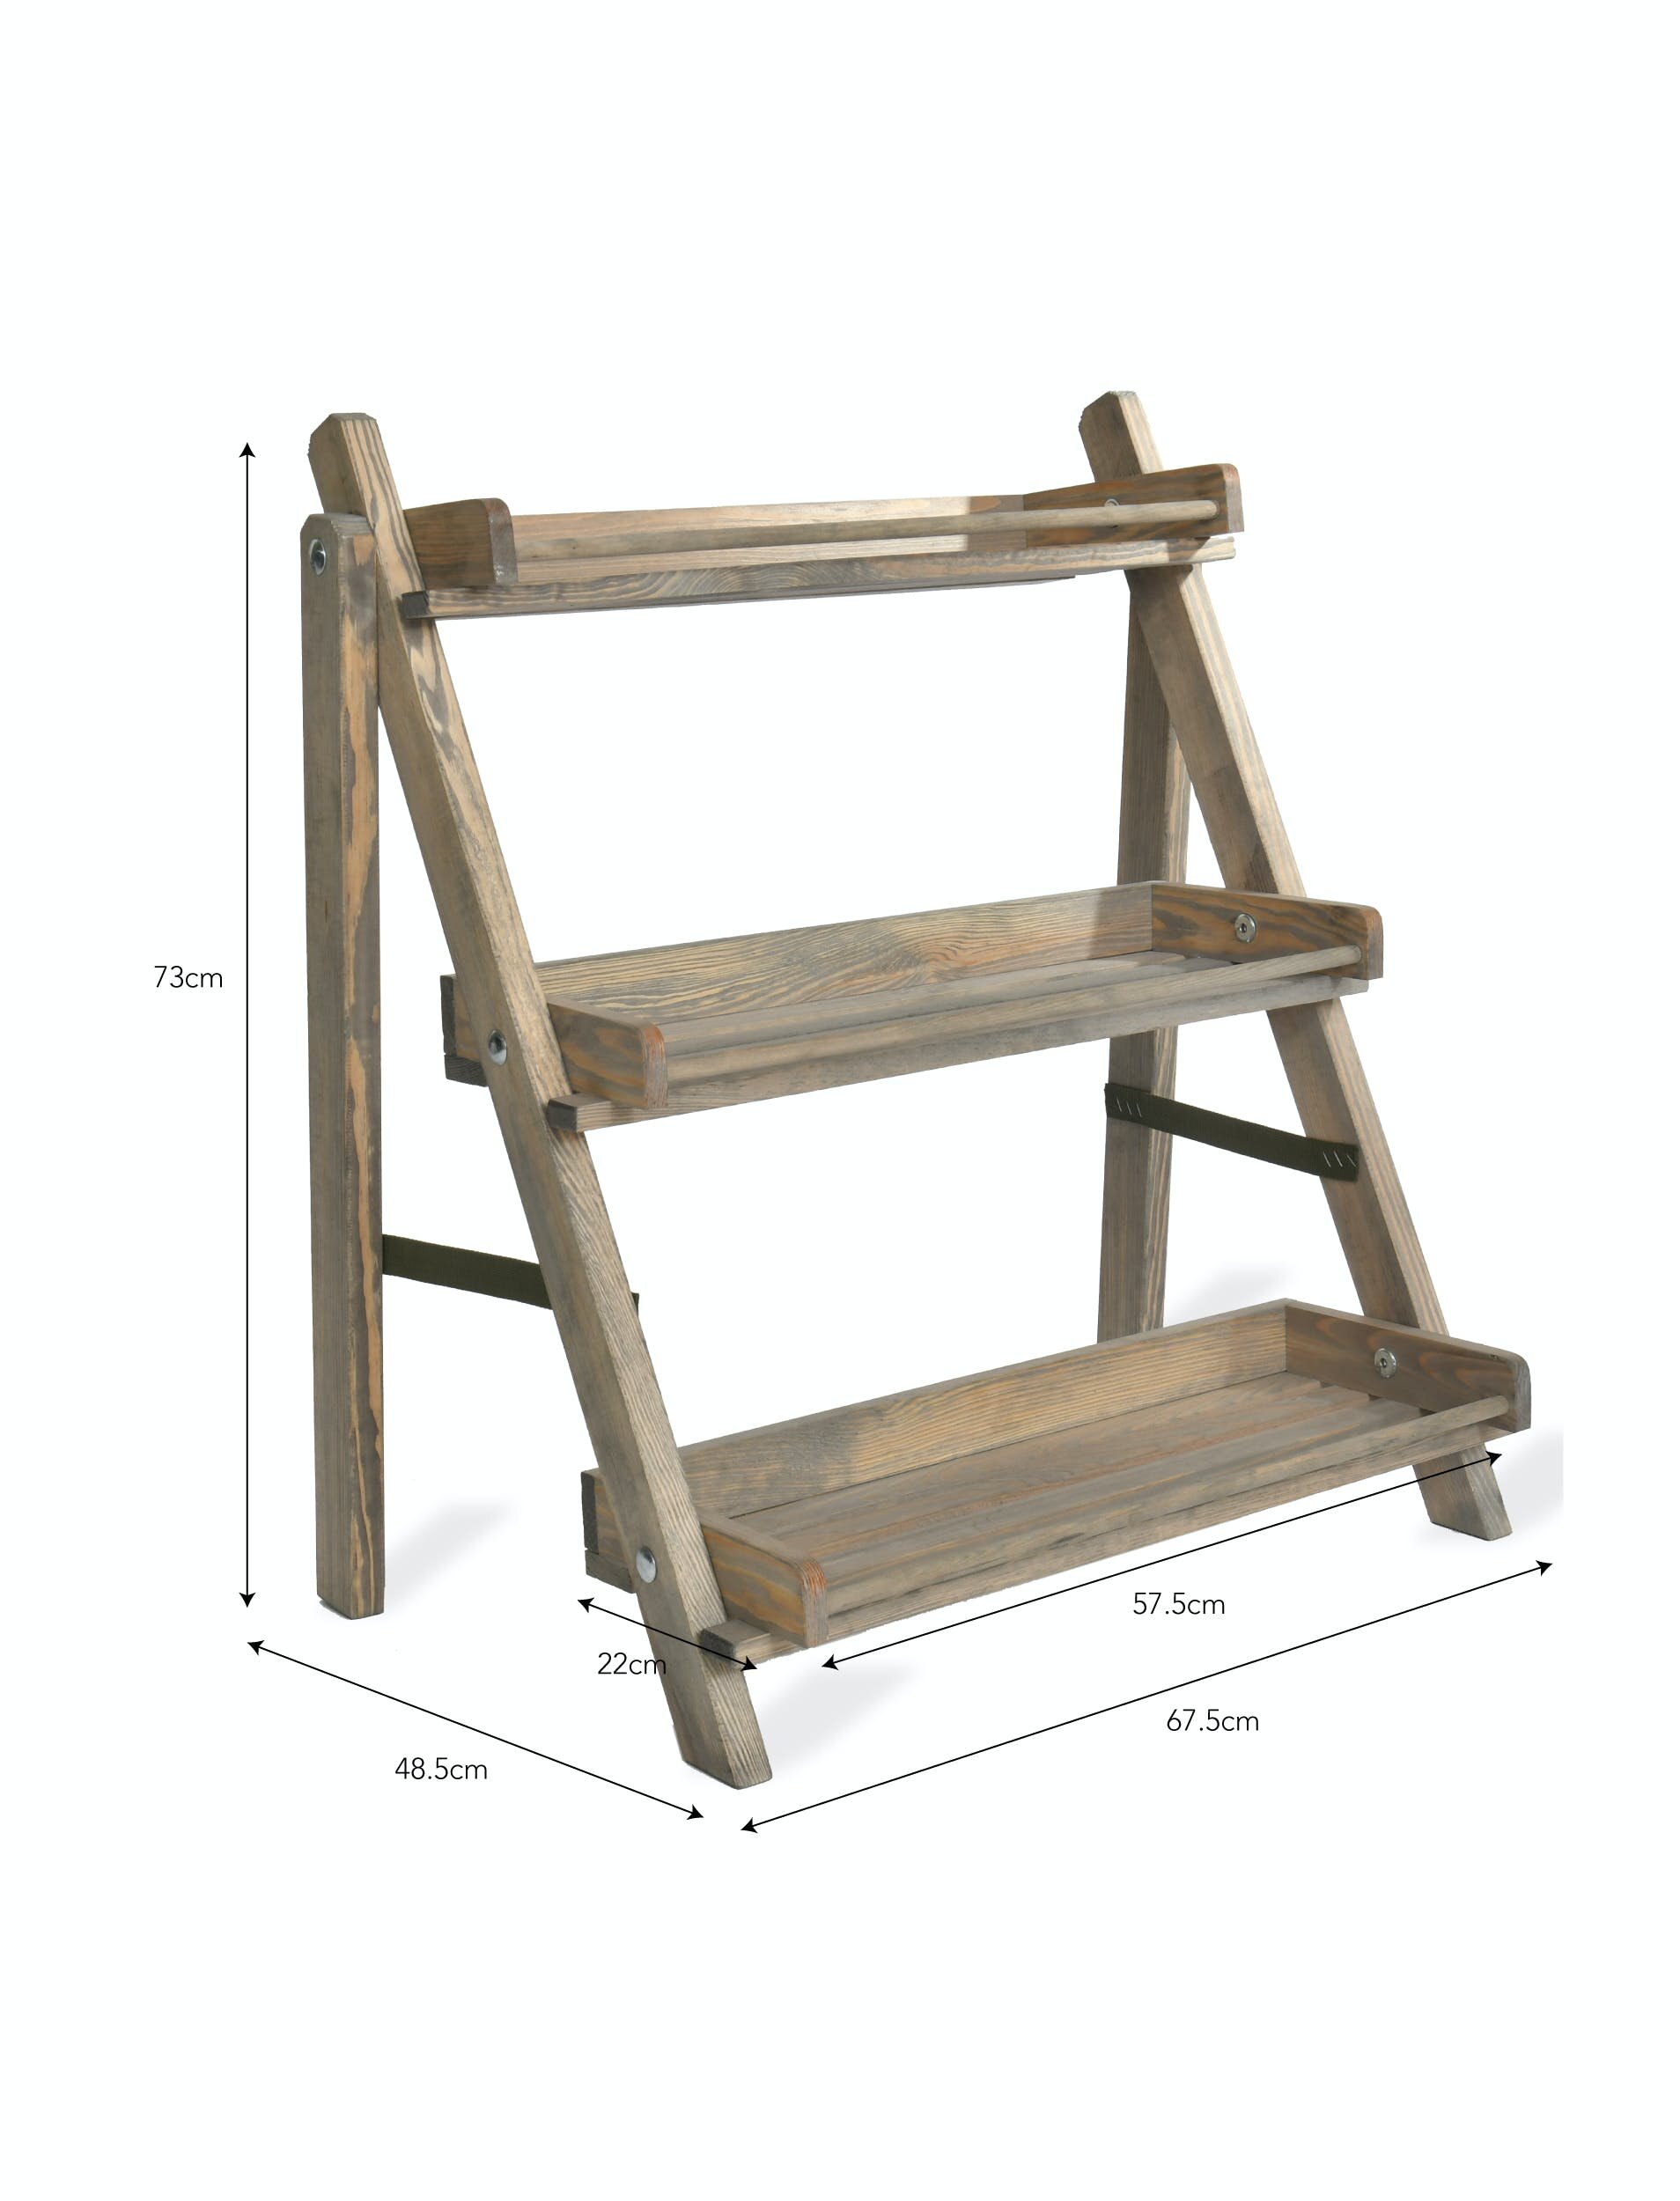
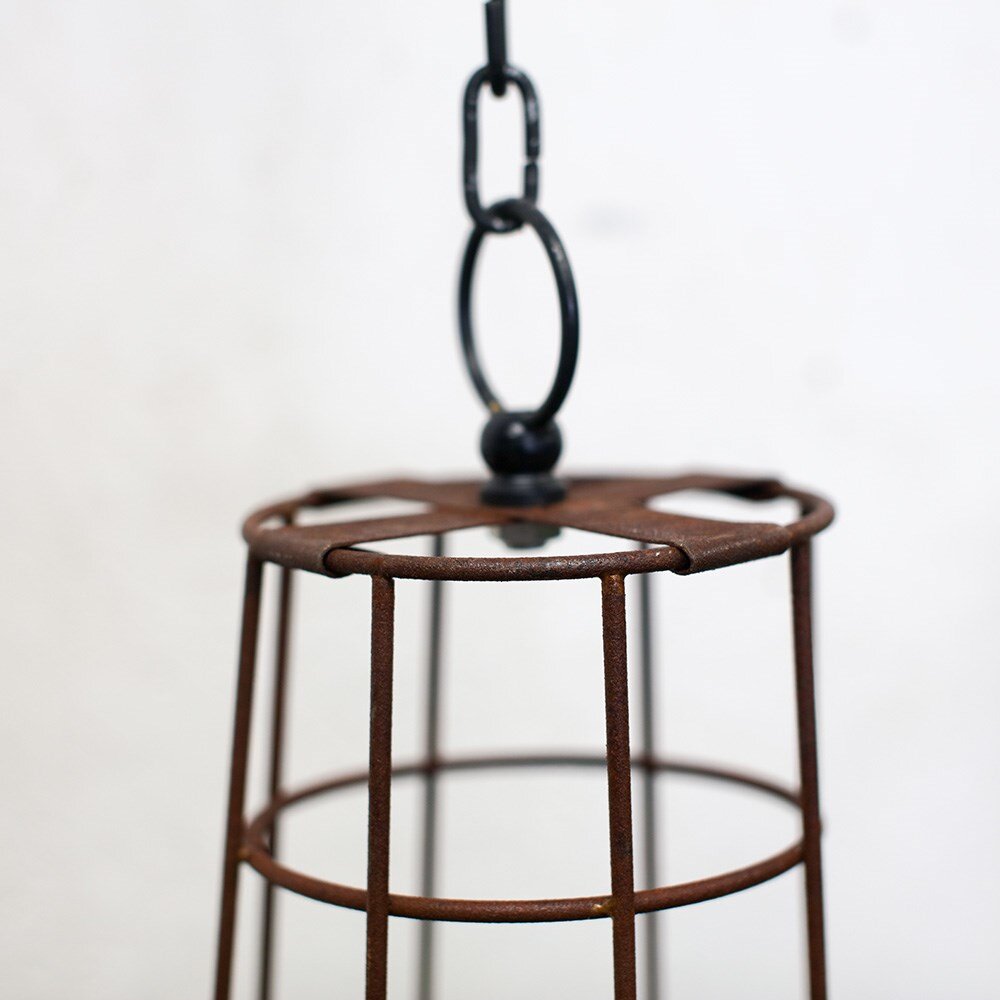
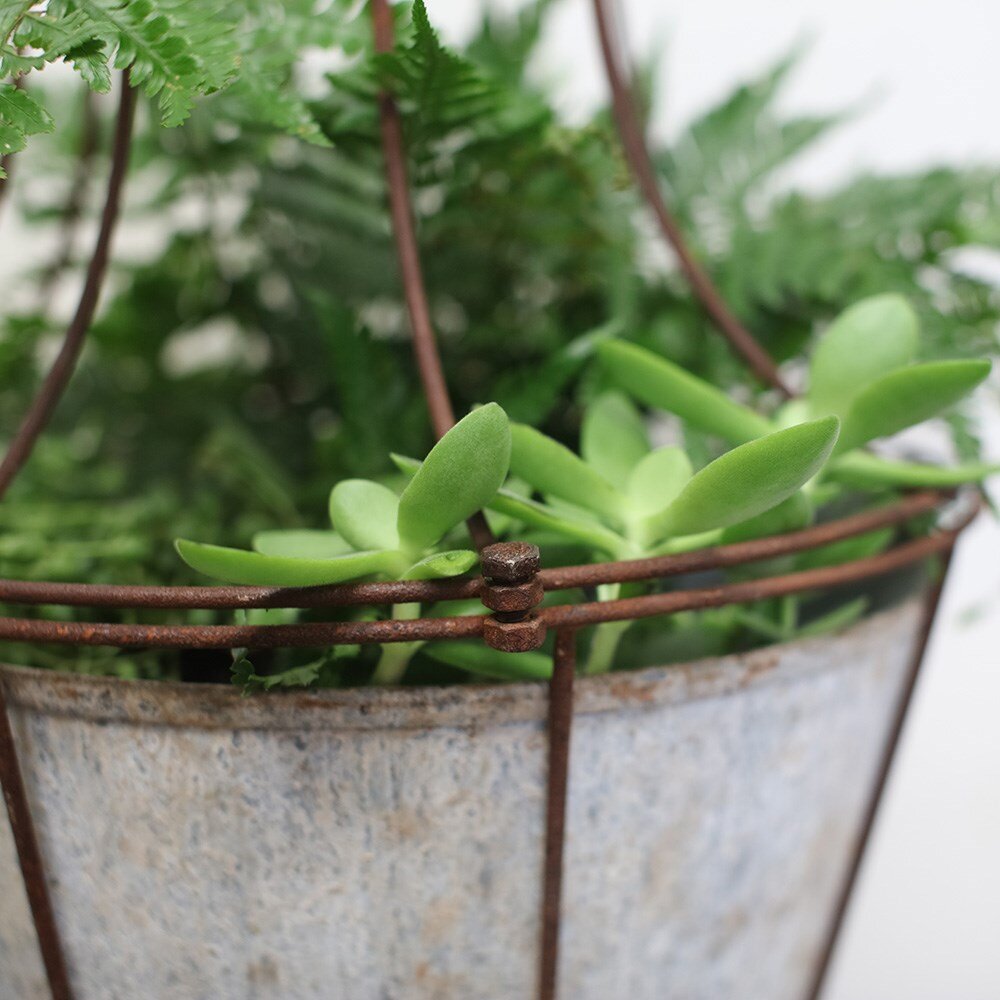
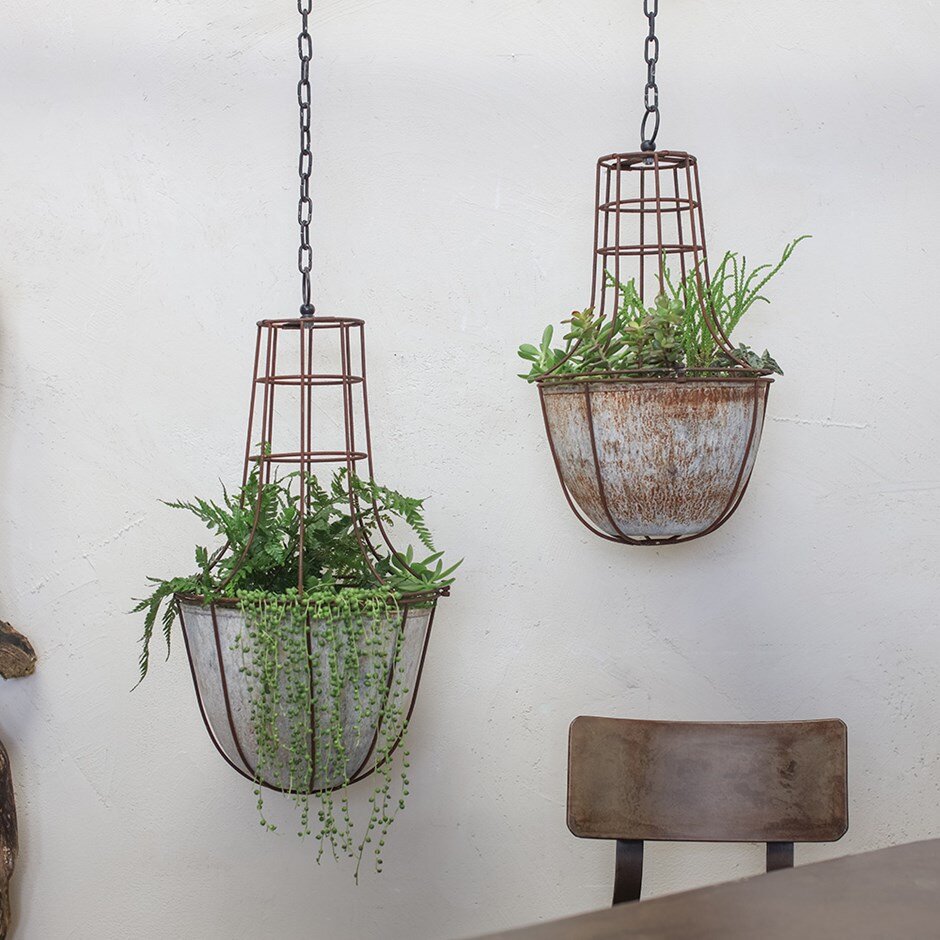
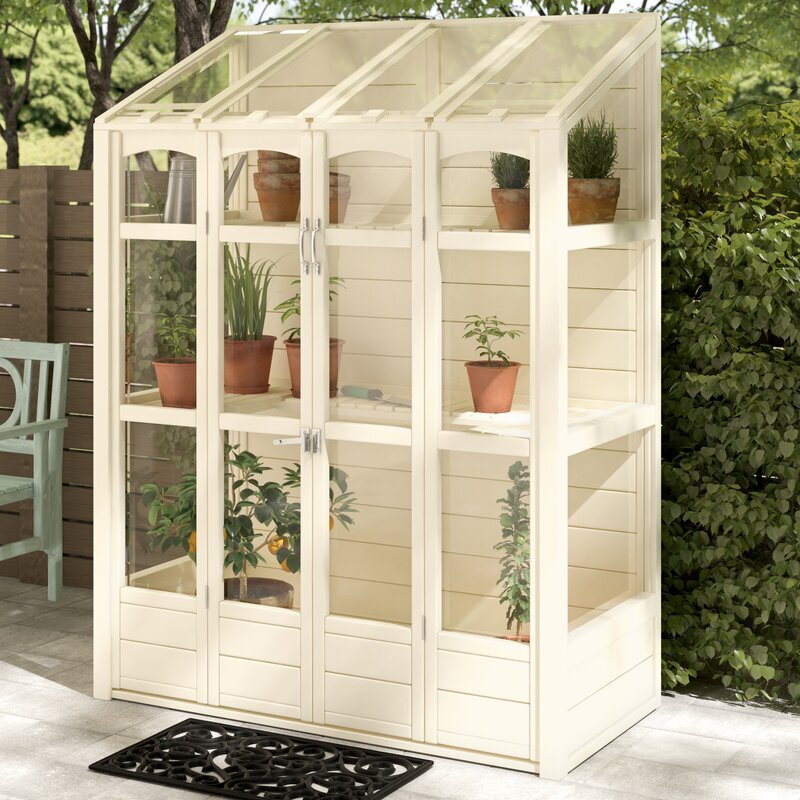
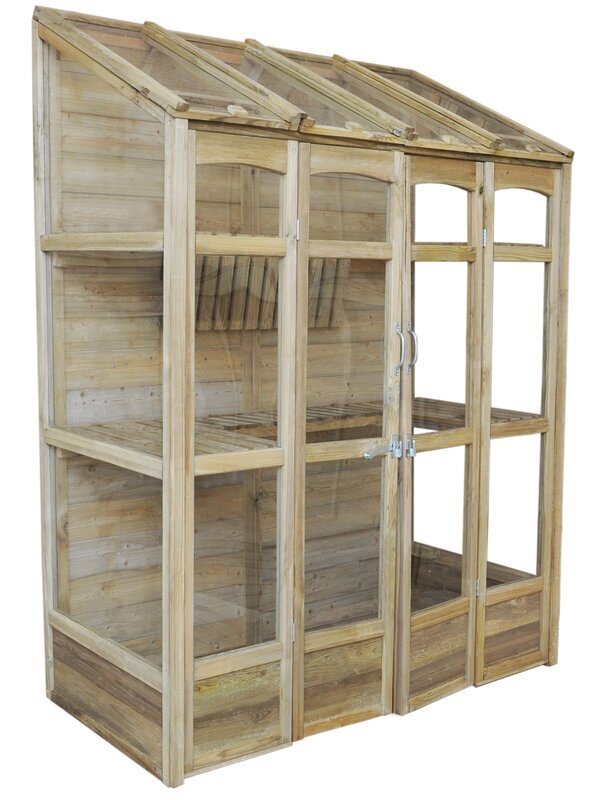
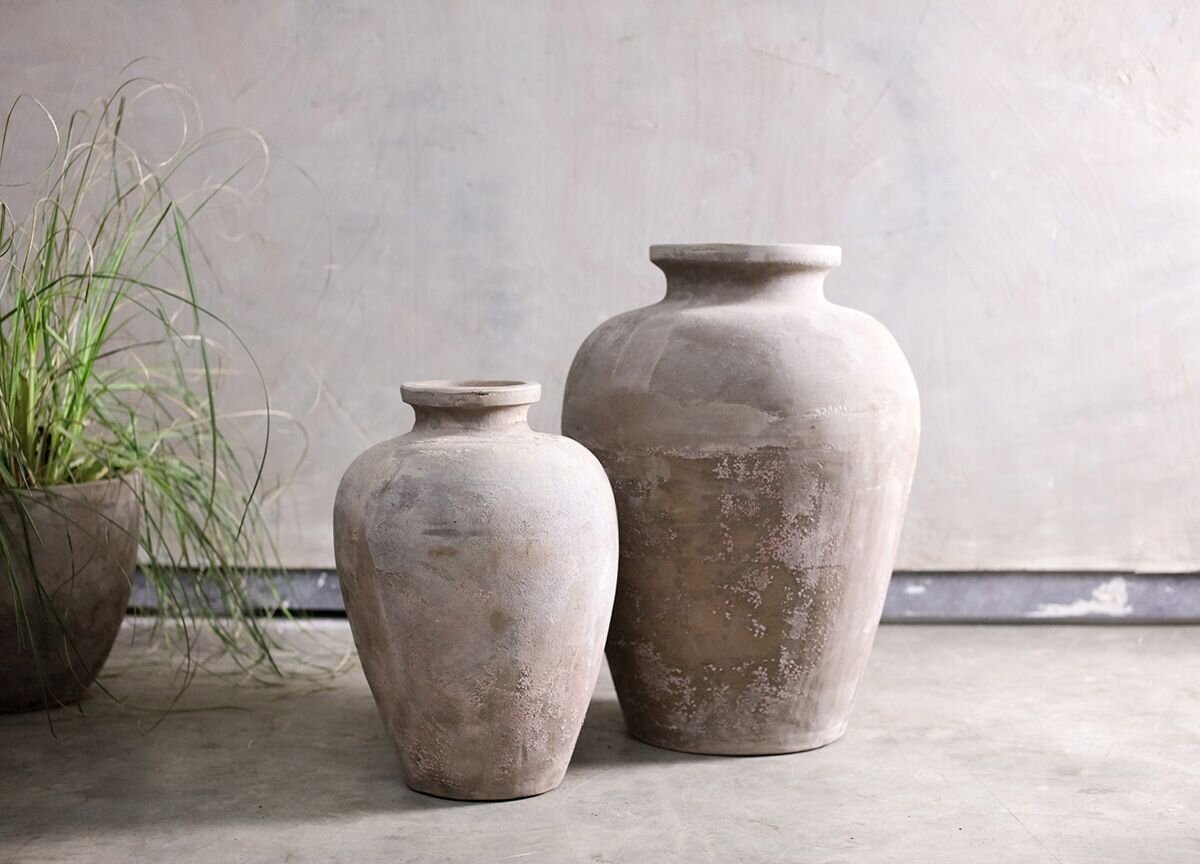
Check out Beck’s top picks below, ranging from Nkuku to B&Q, Garden Trading and Cox and Cox.
Click the images to see more info.
MORE GARDEN INSPIRATION & ACCOUNTS WE LOVE!
Sources, From Top to Bottom:
Title Image: by Dominik Bednarz via Unsplash
Inspirational images: via our Pinterest Board
Festoon Lights: from Cox and Cox
Rabbit in Garden: by Stefan Fluck via Unsplash
Garden room Inspiration: via our Pinterest Board
Storage Ideas: Jenna Sue Design blog, Metal frame wall shelf from Wayfair, log store via Pinterest

